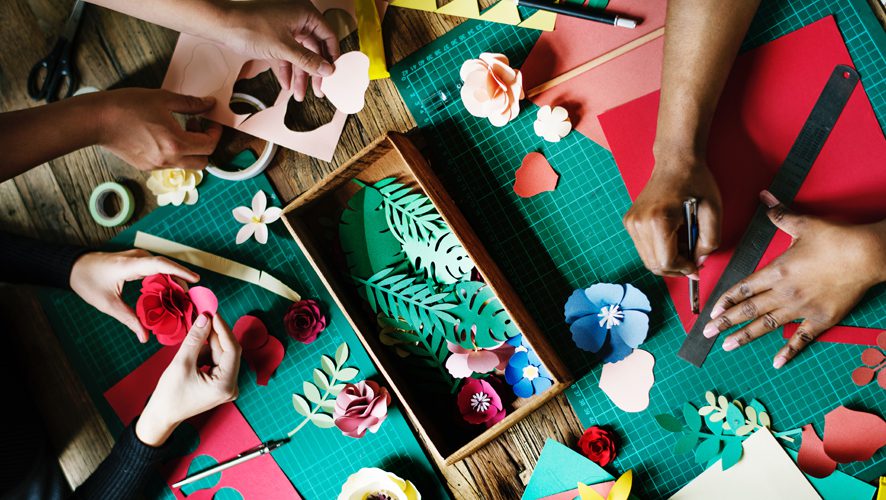
DIY tutorials have got to be one of our favourite ways to unwind.
We are fortunate enough to be able to work with talented crafters and creators, from all over the world. These creatives are innovative enough to come up with beautiful DIY tutorials, which not only look amazing, but are easy for us not so crafty folk to follow.
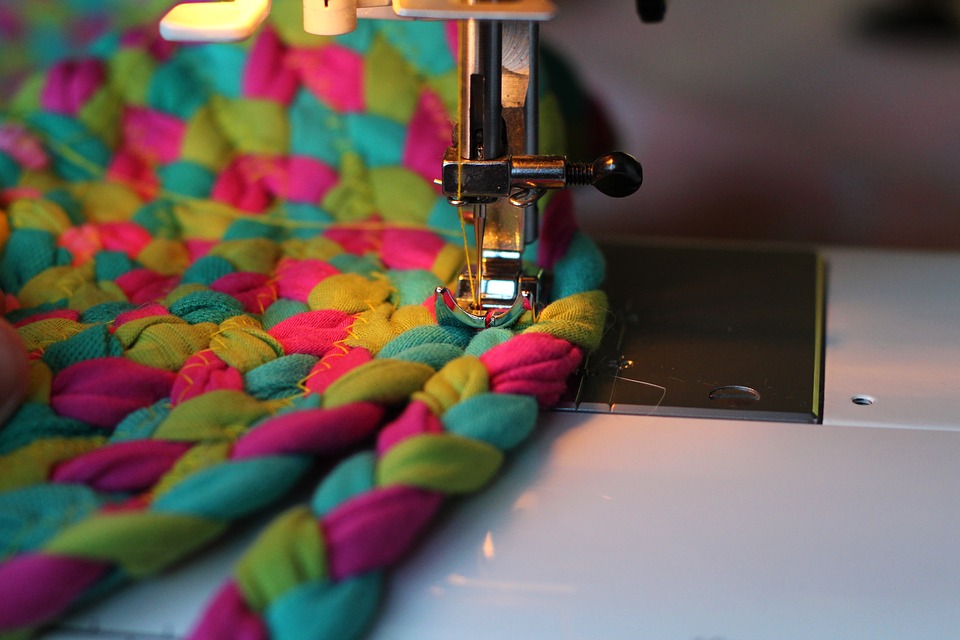
Crafting has become an increasingly popular hobby. Using custom fabric to create soft furnishings, apparel, bags, homeware, baby clothes. blankets, etc., is a wonderful way to showcase your talent and personal taste.
Creating DIY Tutorials with Contrado
If you are a reader of the Contrado blog, you might have already seen the previous post about the Contrado Creators. These a bunch of amazing crafters, who, through their own talent, have come up with DIY tutorials, using our customised fabric. These tutorials are fun, original and, best of all, easy to follow. This makes them ideal for beginners, as well as more established crafters. Even if you have never tried sewing, or following a tutorial before, they are a great way to help you embark on an exciting, and rewarding, new hobby.
Our Contrado Creators are here to help get your creative juices flowing! Continuing from our previous article, this next post in the series sees 4 brand new, fun tutorials. And an extra special something at the end.
1. Confessions of a Refashionista – DIY Velvet Top
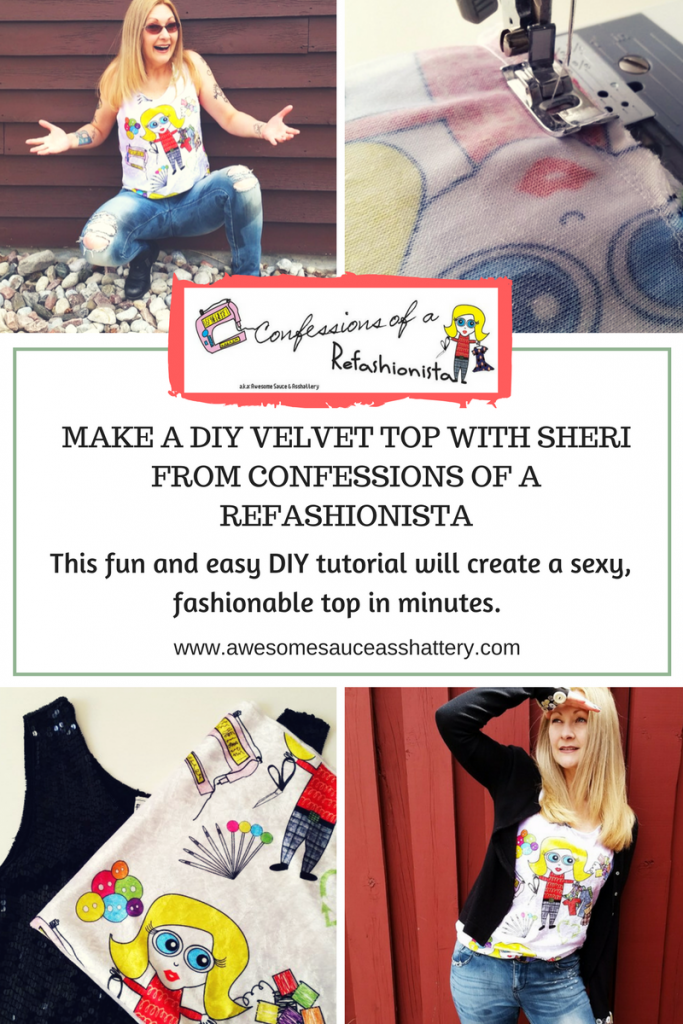
Sheri, from Confessions of a Refashionista, gives us major style envy. This award winning “DIY Diva” not only creates and blogs, but she is also an author of the books series of the same name. Her tutorials will make you itch to get started on your own projects.
Sheri worked with us to create a stunning velvet top DIY tutorial. She naturally chose our sumptuous crushed velour fabric to make her top. This particular material is soft, luxurious, easy to work with and prints like a dream. All in all, an ideal fabric for a chic little top. Using her adorable own character design, this tutorial is a must for any fashionista who likes to stand out. Here is a quick run through of the steps to make your own top, but make sure you check out Sherri’s blog to read the whole DIY tutorial.
Basic Tutorial
- Create the custom fabric of your choice, large enough to comfortably wrap around your torso
- Choose a loose fitting sleeveless top from your wardrobe
- Fold the fabric in half with the right sides facing
- Lay on a flat surface and place the top in the centre
- Use the shape of the top as a guide and pin the front and back of the fabric together
- Cut out basic shape with a few cms extra for seam allowance
- Stitch sides and shoulders together leaving the armholes
- Fold the bottom edge under twice and give it a hem
- Hem the armholes and neckline
- Enjoy your gorgeous new top!
2. Oliver and S – Custom Printed DIY Pencil Skirt
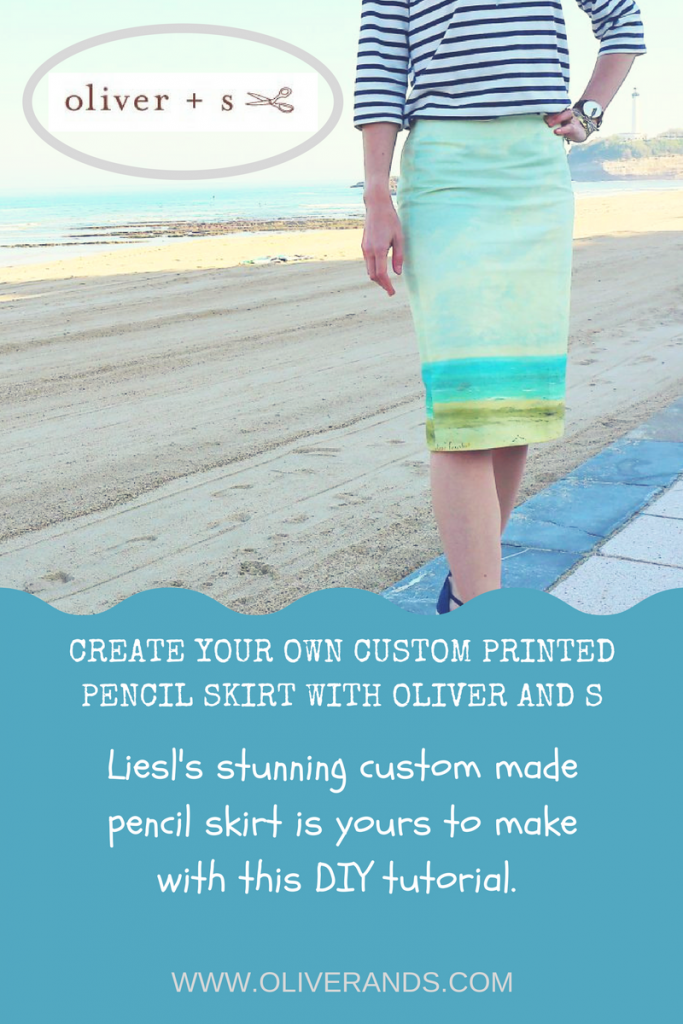
Super talented Liesl Gibson is the mastermind behind the beautiful blog of Oliver and S. Liesl designs sewing patterns, for anyone who is already a keen sewer, or those who are just getting started. As Liesl prides herself on helping people realise their creative potential through sewing, she became a natural Contrado Creator.
Liesl decided to create a skirt from our customised fabric. Using an image of a beach scene painting by Gustave Courbet, she uploaded the design onto our organic canvas fabric. With the fabric, Liesl was able to plan her pencil skirt. The organic canvas is a 100% organic cotton. It has a lovely, soft and rustic charm, which made it the perfect partner to the print Liesl chose. A pencil skirt is a classic piece to add to your wardrobe, ideal for work and play. If you are looking to create a your first skirt from a DIY tutorial, give this one a go.
For more information on the tutorial and for further tutorials and patterns, make sure you visit Oliver and S.
Basic Tutorial
- Liesl created a self-drafted pencil skirt
- Choose your fabric and customise it with the design of your choice
- Liesl measured her skirt pattern to determine how tall the overall print should be
- This was then resized to be about an inch taller than the finished skirt
- This method allowed Lisel to manipulate the print so the sand and water became a natural border for the hem of the skirt
- Print 2 panels for the front and back of the skirt
- Add a hem facing
3. Snugglebug University – DIY Chenille Kitchen Tea Towels
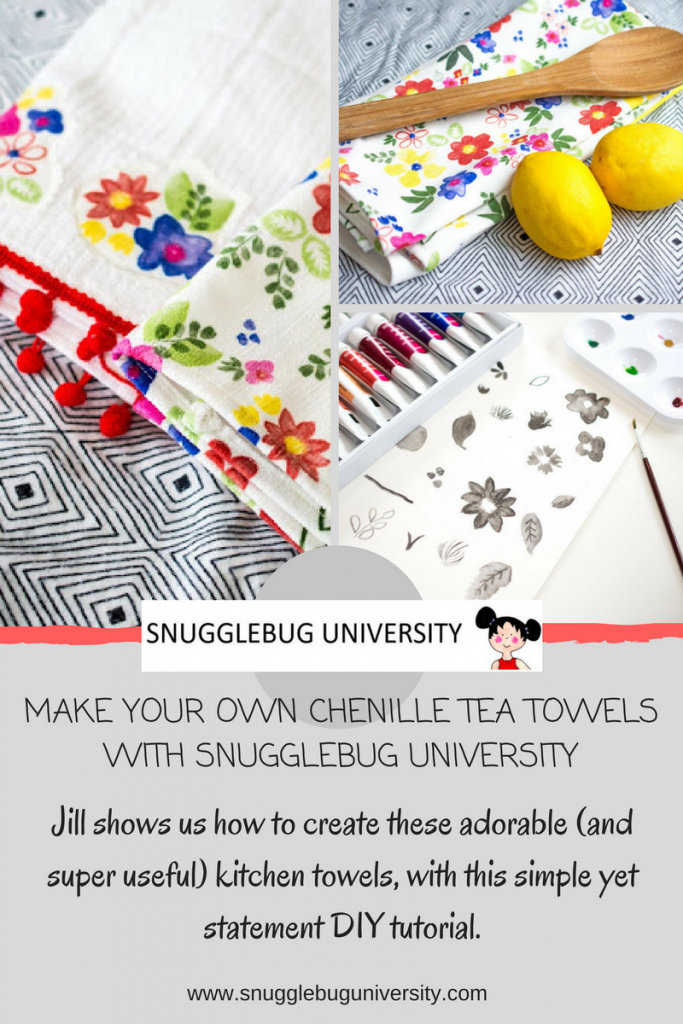
We love Jill from Snugglebug University! Her easy to follow DIY tutorials, gorgeous designs, and inspiring photography are perfect for getting you into the creative spirit. With a colourful mix of patterns, projects, and sewing tutorials for everything from bits and bobs for the home, to cute children’s clothes, and even toys. This is a blog to keep an eye on.
Jill worked with us creating a tutorial for pretty tea towels, that would look great in any kitchen. They also make wonderful, personalised presents. Jill chose to work with our custom chenille fabric for this particular DIY tutorial. This is a great choice for making a dish towel with, thanks to its distinct weave, water absorbent properties, and durable nature. It doesn’t crease, and prints look crisp and colours, vibrant. Here are the basic steps, but we recommend visiting Jill’s blog for the full rundown.
Basic Tutorial
- Choose your custom fabric
- Create a design for your tea towels. Jill made a gorgeous floral watercolour, which was formatted on Photoshop
- Cut the fabric with pinking sheers
- Fold over the raw edges, sew them together and fold over again
- This leaves a nice, neat edge
- And that’s it!
4. My So Called Crafty Life – DIY Oilcloth Bibs
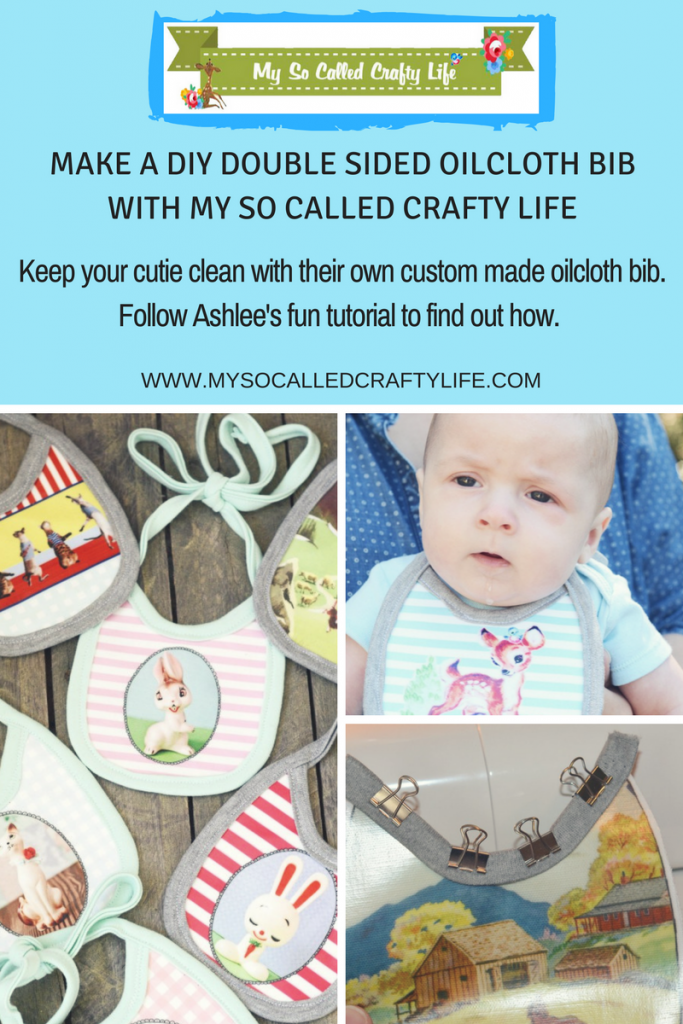
Ashlee from My So Called Crafty Life is another of our favourites here at Contrado. Her adorable DIY projects and tutorials are just what we need for adding some extra fun and colour into our lives. With a vintage flavour, and a big dose of retro charm, if you are into crafting, then My So Called Crafty Life will become your new go-to site.
With this DIY tutorial, Ashlee worked with us to create a range of double sided oilcloth bibs. This project is perfect for any parent with babies, or, if you are looking for a unique gift for a baby. Ashlee decided to use our custom oilcloth fabric, which, of course, is an excellent choice of fabric for bibs. Why? Bibs get mucky, sticky and grubby. So they need to be easy to clean. Our oilcloth is wipe clean and has a waterproof PVC coating. It is easy to work with, and comfortable, so a great choice for baby related projects.
Make sure you check out the full tutorial before starting it yourself.
Basic Tutorial
- Create a design for your fabric
- Take a bib you already have on hand and trace around it onto a piece of paper
- Scan the pattern into your computer
- Create your template
- Upload images, photos, or any other design or pattern you want
- Save your images as JPEGS
- Upload them onto the fabric on the Contrado website
- Cut out the fabric leaving some space for seam allowance
- Use basting spray to stick 2 pieces together
- Make a binding with knit fabric (long 2″ strips)
- Iron them on half
- Open and fold each side into the middle and press
- Fold in half again and press so you have a 0.5″ binding
- Measure neck curve of the bib and cut a piece of binding to that measurement
- Insert bib neckline into the fold of the short binding piece
- Stitch across neckline
- Find the centre of the long binding piece and find the centre of the bottom of the bib
- Insert your bib into the binding matching the centre and fanning out on each side from there
- Clip the binding in place
- Start stitching from one end all the way around
- Knot or stitch the ends closed
Not technically a tutorial, but…
5. That Black Chic – DIY Bomber Jacket
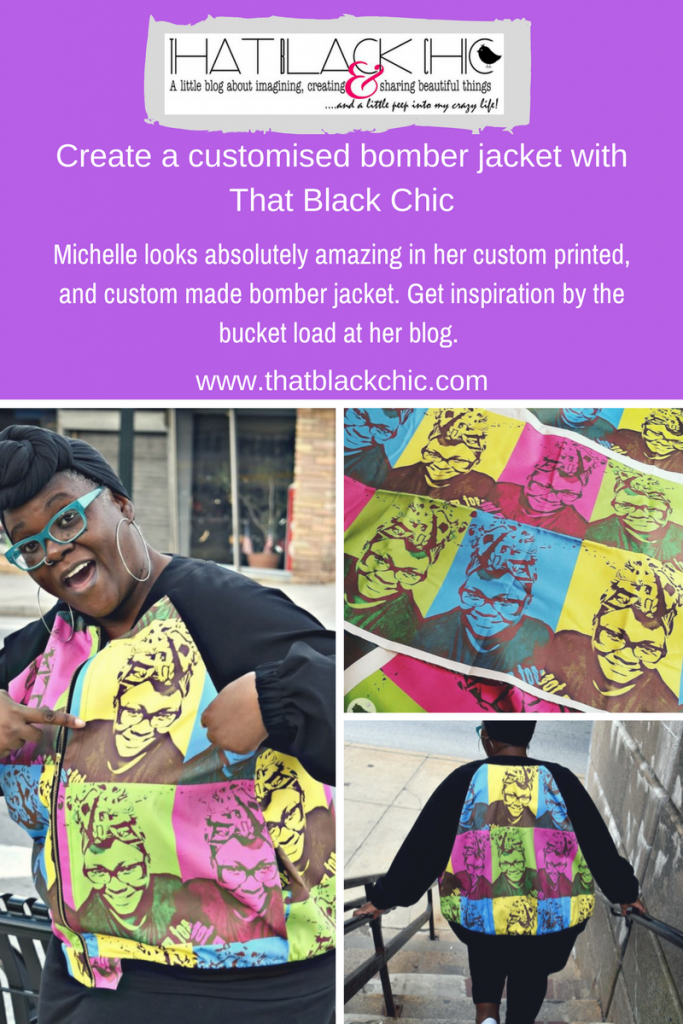
The oh so cool Michelle from That Black Chic is one of the hottest fashion designers around (in our opinion). We worked with her to create a stunning, bespoke bomber jacket. Michelle created an Andy Warhol inspired design for her bomber jacket, in bright, popping colours. Choosing one of our twill fabrics to make her jacket, the finished results are just amazing!
Michelle used the pattern Butterick B6181 View D to make her bomber, and we couldn’t not share Michelle’s stunning jacket. Visit her blog to uncover some truly beautiful designs, all made by the woman herself.
Have these DIY tutorials inspired you to pick up a needle and thread? Keep your eye on the Contrado blog for the next in the series of our Contrado Creators. Thanks so much to the brilliant bloggers featured so far for working with us. Fancy becoming a creator yourself, and getting featured on the blog? Click here and drop us a line, and we will be in touch.