
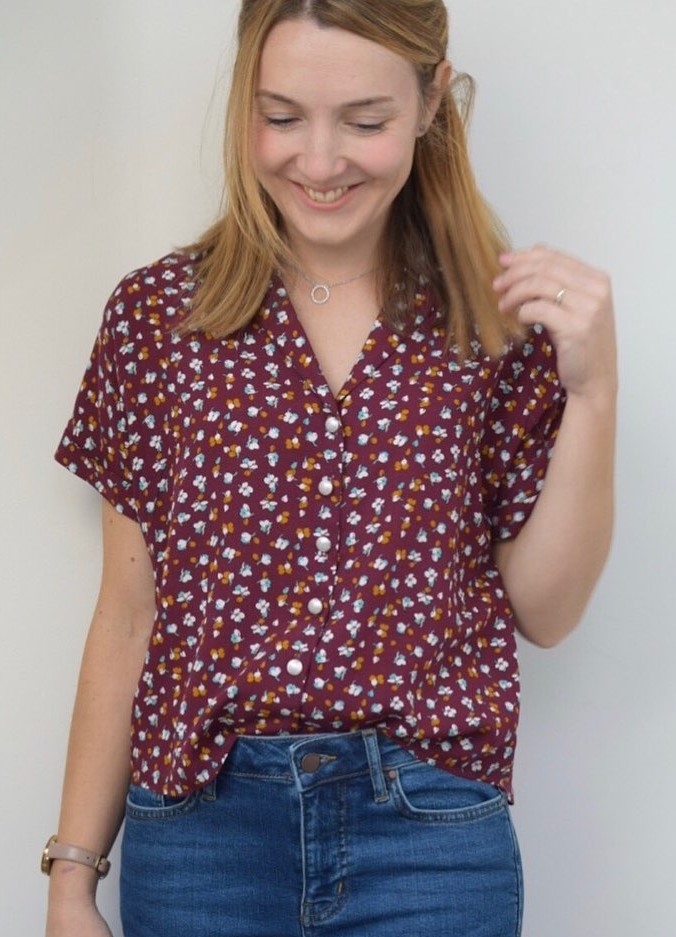
Ever fancied yourself a seamstress? Want to make your own clothes but aren’t sure where to begin? Well, we have scoured the internet for you and contacted some real-life dressmakers to ask them what the one thing that they wish they had known when they were starting out was.
That’s right, we’ve searched high and low to bring you some of the greatest beginners hints and tips and we’ve compiled them all into one handy beginner’s guide for you.
Top Tips from Dressmakers
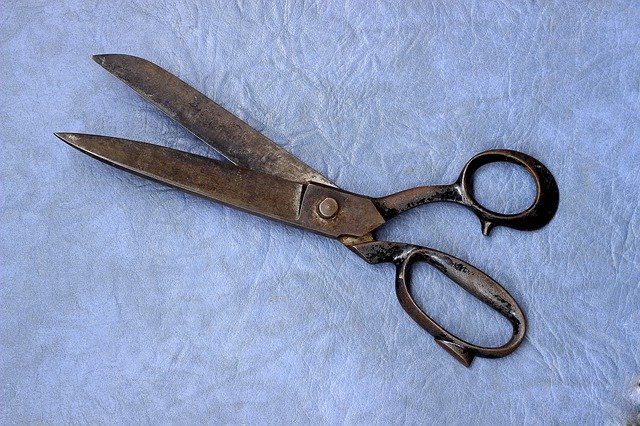
1. For the cause
Laura from The Quiet Needle told us: Have a dedicated pair of scissors for sewing and cutting fabric. Remember to keep them sharp and never use them to cut paper. Cutting paper will dull the scissors. The heavier the scissor the better too.
2. Prep, prep and more prep
Suzy from Sewing in Spain said: Always take time over the preparation before you start sewing. It’s hard because you are keen to get to the construction phase, but it makes all the difference to a project.
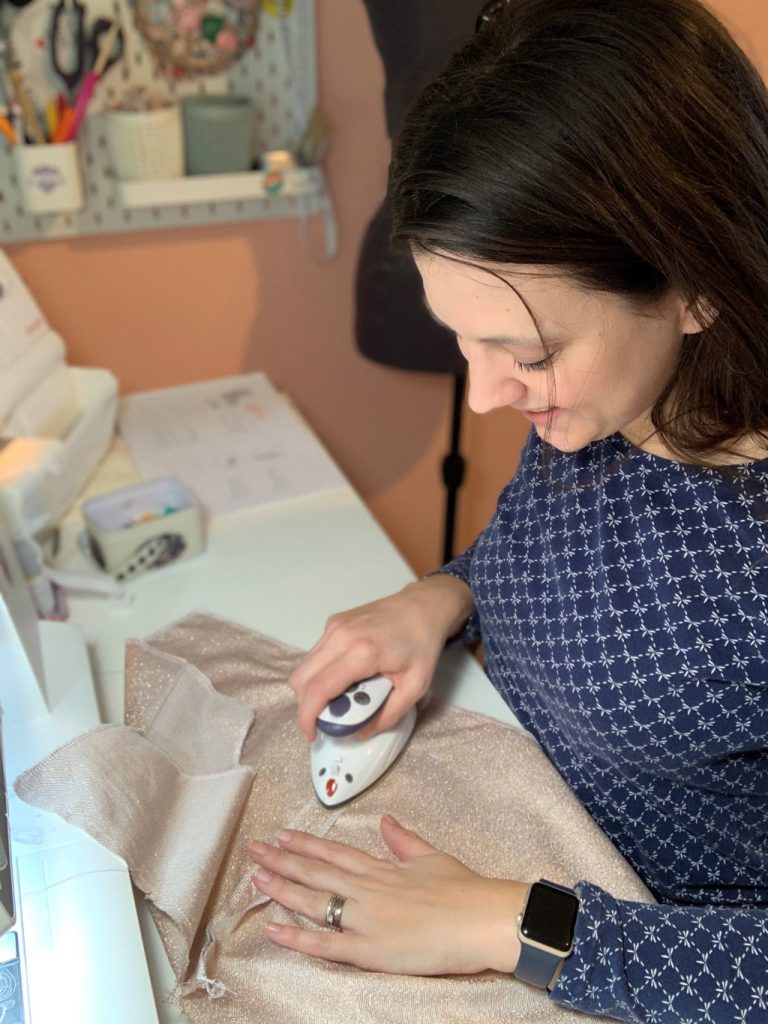
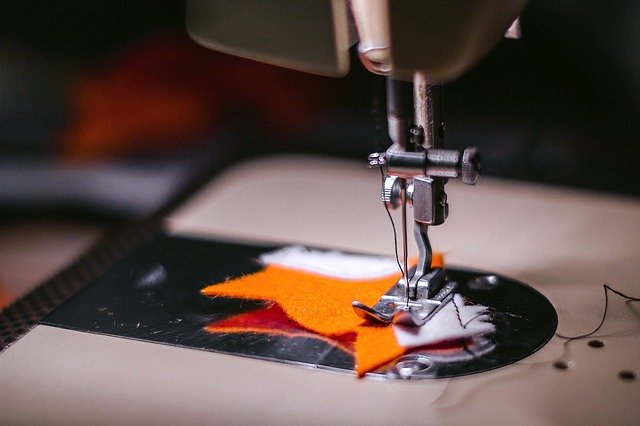
3. Press as you go
Stacie from Notions of a Dressmaker says: If I could only give one piece of advice for a new sewist it would be this… Do not underestimate the importance of your iron! Failing to press your seams may seem like an easy way to save time, but I absolutely believe it’s the difference between your projects looking ‘home-made’ and expertly hand-made. I keep my iron set up right alongside my sewing machine to it is on hand between every seam I sew. Pressing will not only set your stitches to make them more secure and long-lasting but will also ensure a lovely crisp and clean finish to your creations.
4. Build Your Confidence
Nicki at Away With The Faeries says: Start with a cotton print, as it’s not prone to slip or stretch when sewing. And by using a print, minor mistakes such as a wobbly seam are unlikely to show. This will save your frustration and build confidence in your sewing abilities. Remember that sewing is a creative process unique to you.
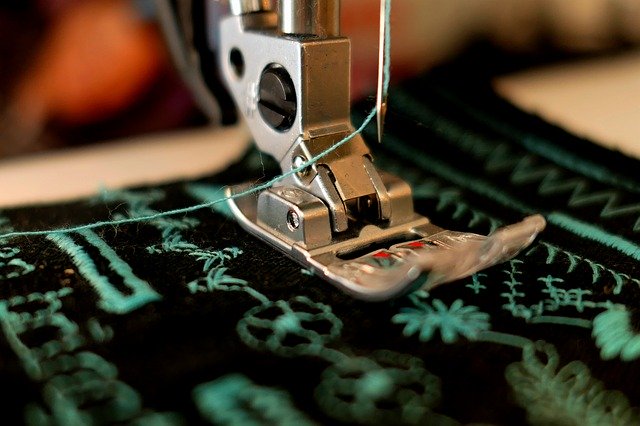
5. Know your fabrics
Sally, a.k.a Secret Life of a Seamstress, says: Getting to know which fabric types work best for different garments was a massive game-changer for me. I used to always go for cotton because they are easy to work with but they just don’t work when a pattern needs drape, likewise, a drapey fabric wouldn’t work where you need more structure. As soon as I got my head around what worked best with what it began to make sense why my stiff cotton blouse just didn’t feel right. Your pattern envelope will usually give you suggestions of what fabrics work well for the type of garment you are making.
6. One way system
The Quiet Needle let us know that: When you’re changing your thread on a sewing machine NEVER pull the last thread back through the machine. Cut it at the spool and pull the tail through the needle and toss it. Machines are made for the thread to go in one direction and have ” lint catcher”. If you pull the thread in the opposite direction eventually the lint will be pulled back into things like the tension control. I learned the hard way.
7. Don’t let zips be your nemesis
Di from Sew it With Di said her top tip was: Are zips your nemesis? If your clip-on zipper foot is wider at the back then buy an adjustable one that’s narrow all the way to the back. You’ll be able to sew perfect zips without needing to open them to stitch past the zip pull. No teeth peeking out to spoil your clothes, no wobbly topstitching, stitch right next to the teeth for fly fronts and bags. It’s perfect for all sizes of piping as well.
Di is fab with zips and has a whole tutorial on them here!
8. Make a mock-up
Sewing in Spain Instagrammer Suzy Roberts advised: Make a toile or a muslin (I use old sheets), at least of the bodice part if it is a dress. This doesn’t take long and it’s better to adjust your fit before cutting.
9. Start with the basics
Karen from Sew Little Time told us not to get sucked into buying all the expensive gadgets or machines, just start with the basics and get stuck in.
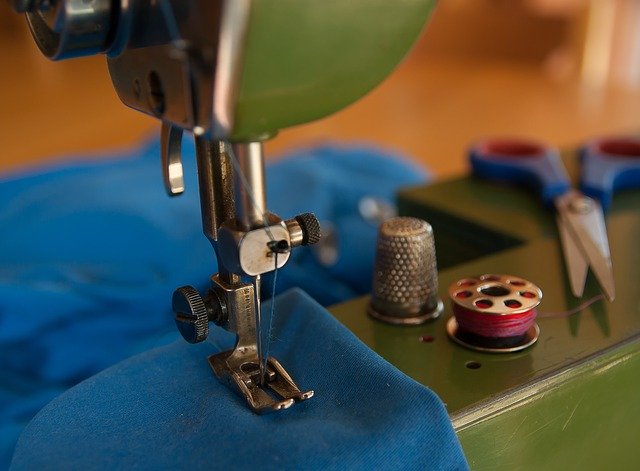
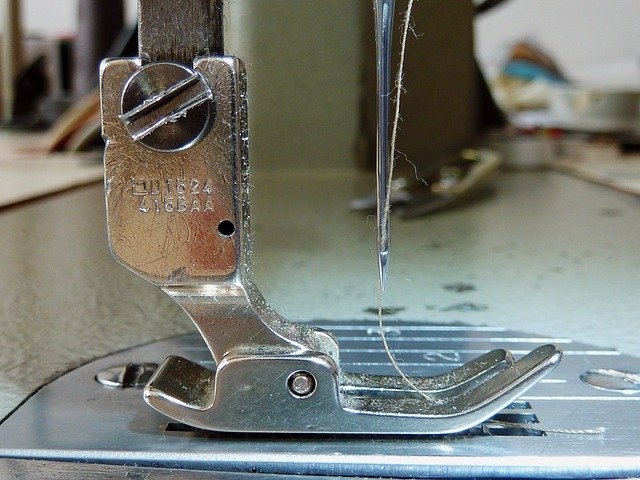
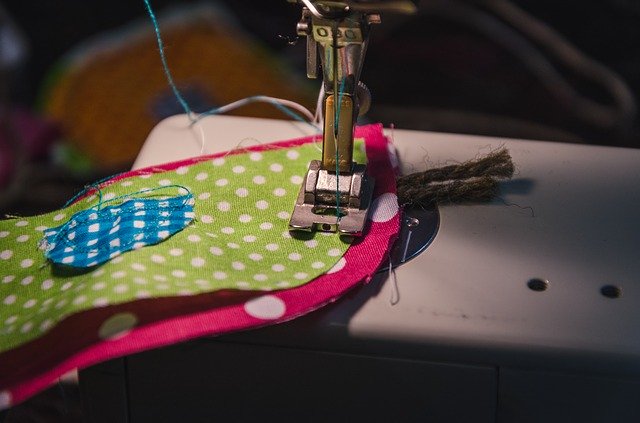
10. Change that needle
Beth from Beth Smith Textiles says: Change your sewing machine needle regularly. I used to sew with the same needle for weeks and weeks. I would just use it until it broke but now I change my needle more frequently. Sometimes after 3 projects if I am just sewing cotton and sometimes after just one project if what I’m sewing is more difficult like denim or sequins. It’s amazing how much more smoothly things go after changing a needle.
If I take out a needle for lightweight fabrics to switch to a denim needle I don’t save the finer needle either. When I switch back to the finer fabric I always get a new needle.
11. Iron your interfacing
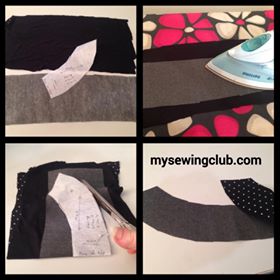
Fee from My Sewing Club says: Understanding your sewing machine makes sewing much easier and way more fun. Another of my favourite tips is to iron your interfacing on to a rectangle of fabric before you cut out your facings, once you have ironed the fabric and interfacing together, you can then easily cut them both out in one go, so much quicker and neater, no annoying bits of interfacing hanging over the edge, to gunk up your iron or ironing board.
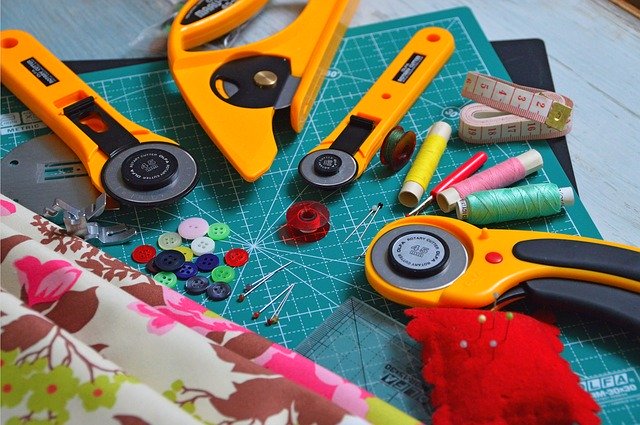
12. Be accurate with rulers
Karen from Quilter’s Paradise told us: Whenever possible, use your ruler to cut your pieces, not the measurements on the cutting mat. Your ruler markings are more accurate. This way, if using various mats when cutting a project, you will have consistency.

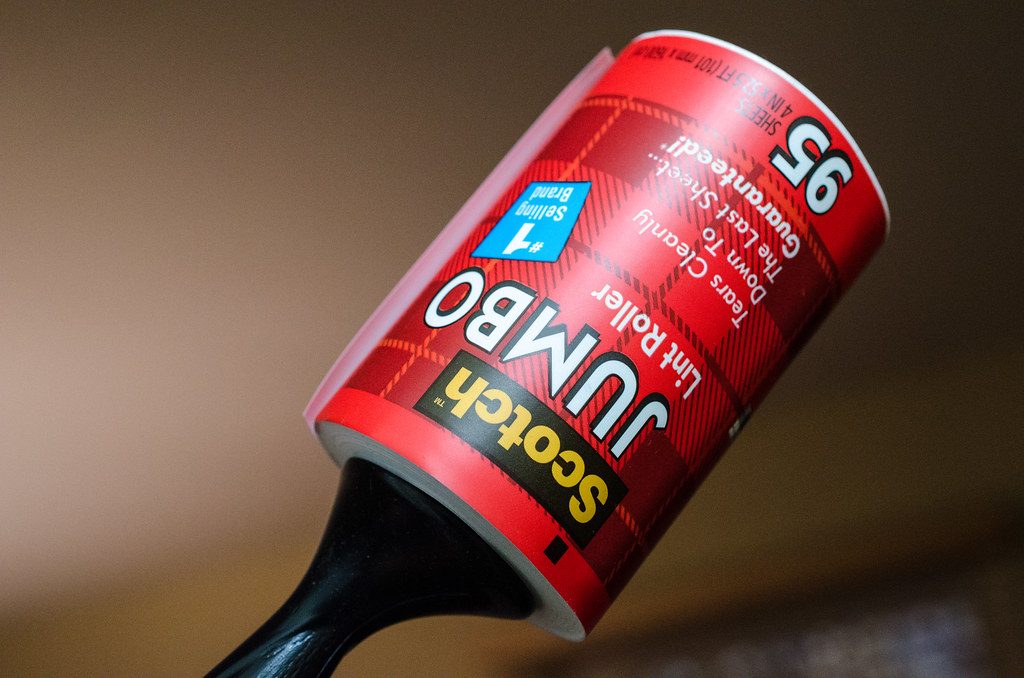
13. Tidy as you go
Nope, this isn’t those echoes from your childhood (or was it just my mum that used to bark this at me?). Another top tip from The Quiet Needle: Keep a small Tupperware container near you for loose thread, thread clippings and fabric clippings instead of walking over to a garage can each time. Keep a lint roller handy for a quick thread-clippings pick-up.
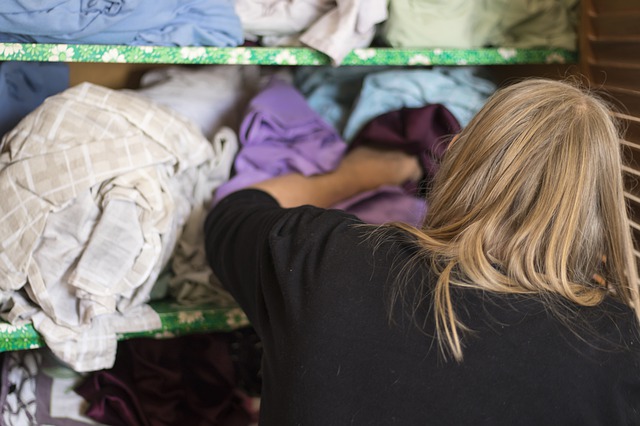
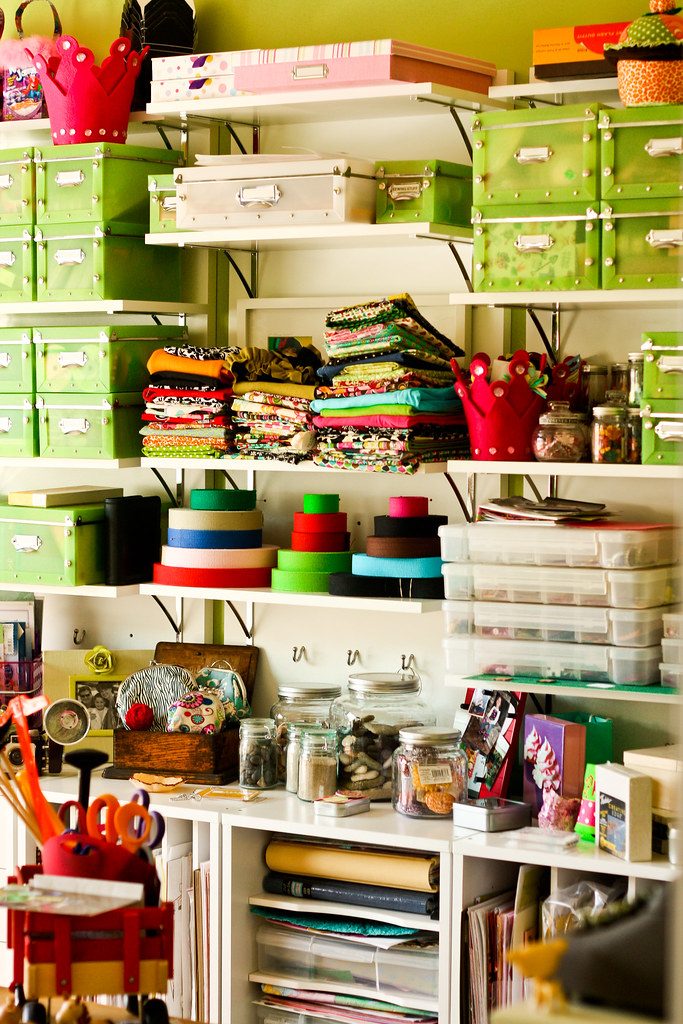
14. Make space
Nicki at Away With The Faeries told us: Have fun, but watch out for the growing fabric stash, it’s addictive and you may need a bigger room!
15. Diagnose upside down
John, the Sewing Machine Man gave us this handy piece of information: Did you know sewing is upside down? When your stitch is messy on top it means the problem is with the bobbin, and if it’s messy underneath the problem is with the top thread.

16. Wash away
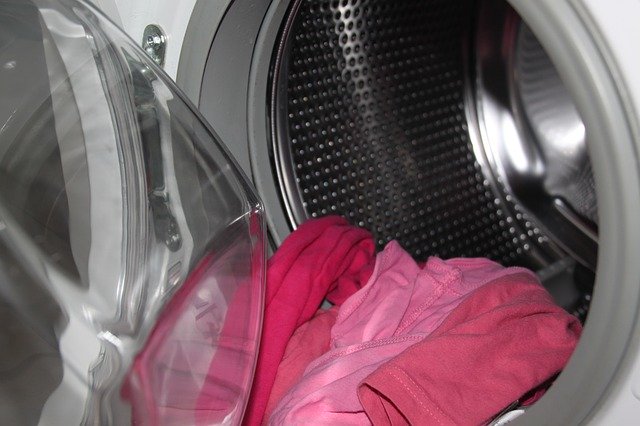
Suzy at Sewing In Spain said: Wash your fabric, many fabrics shrink, so better to find out before you cut.
17. Test first to make sure the needle is right
Karen from Sew Little Time says: Make sure you’re using the correct needle for the type of fabric you are using and always do a test run of stitches on a scrap piece of fabric before you start on your project.
18. Round the twist
The Quiet Needle says: Need a sharp corner? Keep the needle down, lift the foot and rotate the fabric.
19. Cut, and take your time
Susan Young Sewing told us: As a former sample cutter my number one top tip is to cut out your project carefully and accurately. Take your time, measure carefully using your tape measure, check the grainline is parallel to the selvedges. Pin sufficiently and cut smoothly. If you’ve cut out neatly you’re off to a good start with your project so you’ll know any discrepancies as you make it up probably aren’t down to your cutting and could be the pattern.
20. Allow for your seam allowances
Susan Young Sewing also told us: My second tip is to make sure you sew your seam allowances accurately, check what it is for each pattern and stick to it! With this in mind, you should be guaranteed success!

21. Trace and tear
Another fab tip from Karen at Quilter’s Paradise: When hand stitching sayings on wool applique or other fabric projects, trace the saying from the pattern onto Glad Press ‘N Seal. Place this on top of the wool/fabric you are stitching on and hand stitch over the saying. Once finished, rip off the Press ‘N Seal to reveal your perfect hand-stitched work!
Time to get started
There you have it – a collection of hints and tips from real-life dressmakers. Now all you need to get started is to pick a project and get to it! Why not create your own custom fabric to make your beginners clothing project well and truly unique.

As a seamstress, my only add would be to pay attention to the pattern’s grainlines and markings. It saves a lot if time and frustration down the line. They are easy to ignore in the rush of laying out and clipping out your fabric. There for good reason, use them.
Did you know that the width of a sewing measuring tape is 5/8 inches? Useful where seams/allowances are concerned:)