Cutting on the bias, is probably a phrase you’ve heard quite a lot if you’ve just started sewing as a hobby or are interested in making your own clothes. But what does it actually mean? In this quick and easy to follow guide, we’ll explain how to cut fabric on the bias so you can get back to crafting and clothmaking as soon as possible.
What is the bias of a fabric?
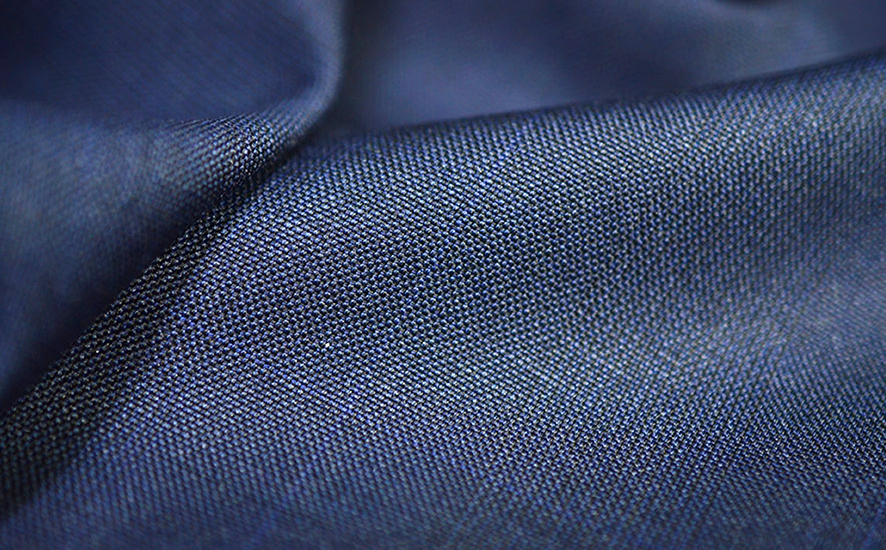
Fabrics are made up of hundreds of threads, so understanding which direction these fibers are woven will help you to work with fabric better.
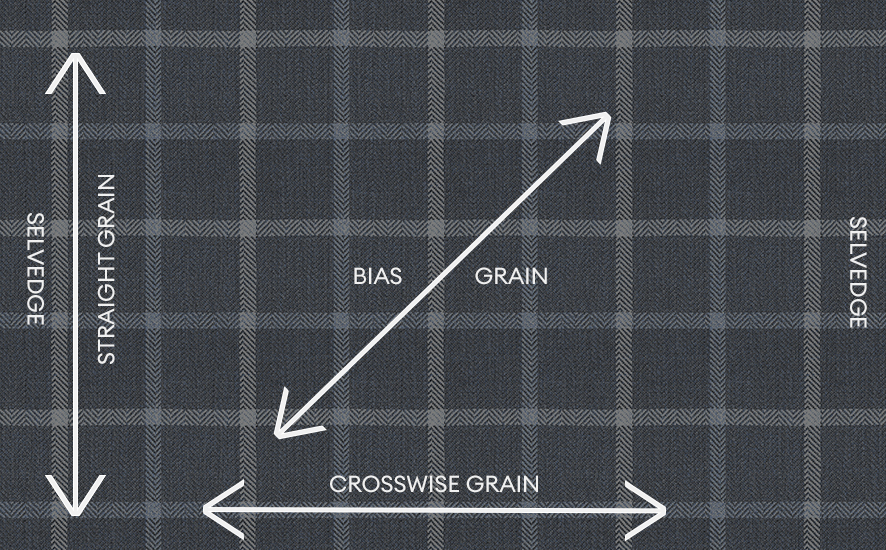
Take a close look at your fabric: The threads that run vertically are on the ‘straight grain’, while the threads that are woven horizontally are on the ‘crosswise grain’. Lastly, the threads that are woven diagonally are on the bias grain. This is the grain we’re looking at today. By cutting along the grain of a fabric, you will be able to achieve a cleaner cut with less chance of fraying.
Why is it important to cut on the bias of fabric?
In clothmaking, cutting on the bias (which is a 45-degree angle to the straight grain) will allow for a contouring drape that’s perfect for following the shape of the body and creating a flattering silhouette.
Cutting on the bias also provides more stretch and fluidity for movement, which makes it a great cut for dresses and skirts. It also doesn’t fray and the fabric tends to be softer to work with and wear.
What you need to know about the bias grain
When cutting on the bias of a fabric, there are a few things to think about before whipping out the scissors and giving it a go:
- The first thing is that when using the bias grain, you will need a little more fabric than you first thought. Make sure you compensate for this by adding a good amount to your measurements before you start.
- As the bias grain creates a nice stretch, sewing the hems is going to be a pain, so choose a simple pattern for your first attempt. It’ll all be worth it when you’ve got a beautiful, slimming garment.
- To help keep the stretch at the seams, you can use a zig zag stitch.
- Don’t get excited about the stretchiness. Like your favourite pair of leggings, continuous stretching can cause sag – which is definitely not what you want when trying to create a flattering style!
- Choose your material wisely. If you’re looking for a beautiful drape, consider fabrics such as soft cottons, silks, satins and linens. Heavy materials such as microfiber, quilting cotton or muslins shouldn’t be cut on the bias.
How to cut fabric on the bias
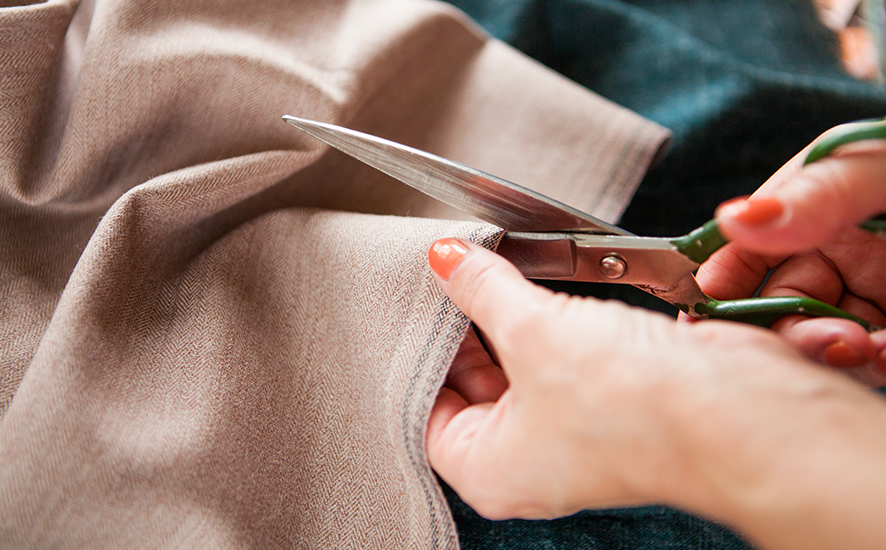
First, you will need to gather a few tools. Grab yourself some sharp fabric scissors (or a rotary cutter) and – if you have one to hand – a cutting board.
- If your fabric has been folded up, or you can see creases in the material, it’s probably a good idea to iron it straight before you start. If you’re using a material that’s likely to shrink on the first wash, pre-wash your material before ironing it. That way you won’t be making a one-wear garment!
- Spread your fabric out on a clean, hard surface, with the longest side facing you. The fabric print should be facing down. If you do have a cutting board, you can place this under the material to ensure it is completely straight. The board’s grid will help you line up the fabric a little bit easier.
- Take the top left corner of the material and fold it down to the bottom edge. Similar to how you would make a square when working with origami. The fold should create a point. If your fabric is already perfectly square, the corners should match up with ease, and the material will form a triangle. If it’s slightly rectangular, there will be a little excess material where the edges have matched up.
- Cut the excess fabric off the side so you are left with a perfect square. If the material has become bumpy, smooth it back out to keep the cutting consistent
- If you are using a sharp pair of fabric scissors, place one of the blades within the fold of the triangle and cut along the fold to separate the back and front panels of the triangle.
- If you’re using a cutter, press down the fold of the material so that if creates a light crease. Then, unfold the material and run the cutter down the diagonal crease you just created. This should leave you with two identical triangles.
You should find that this cut is clean and fray-free.
As you can see, cutting fabric on the bias is pretty easy once you know what you’re doing. If you need to cut a smaller piece, you can just fold the triangle again and cut along the fold. Cutting fabric on the bias is great for making your own clothes and curtains. And who knows, after a few goes, you might have your own little fashion brand!
You can print your patterns and designs directly onto products with Contrado, but if you want to take a pop at making your own, we offer fabric printing services that use only the highest quality materials and eco inks.