You may have seen our blog post on Scanning Artwork to Print back in February. It was packed full of hints and tips on how to choose the right scanner, resolution and file format. But what if you already have a scanner, that prints in super-fantastic quality, yet only in A4, and you have the perfect painting that would look just spectacular on that Contrado product you’ve seen, but its A3. Well, that’s where digital stitching comes in.
Fear not! There is a solution. You need to scan the picture in parts, and then you can stitch images together within your photo editing software. This is known as digital image stitching, and it’s nowhere near as complicated as it sounds like it would be.

Digital Stitching Explained
Digital stitching can be done with almost any image editing software. If you follow the same principles, you could even do this in Microsoft Paint if you wanted to. We would advise using something which gives you a little more control over your work, with a few more options. We tend to use Photoshop.
Although it sounds like a complicated process it can actually be done in just a few simple steps. As the name suggests, it is very similar to actually stitching pieces of fabric together, and there are some things that you need to allow for in digital stitching that you would also need to bear in mind when making, for example, a patchwork quilt; seam allowance is the one that springs to mind.
Take a look below at our simple guide and find out how to stitch images together and put them onto your chosen product in just four simple steps.
Scanning your Sections
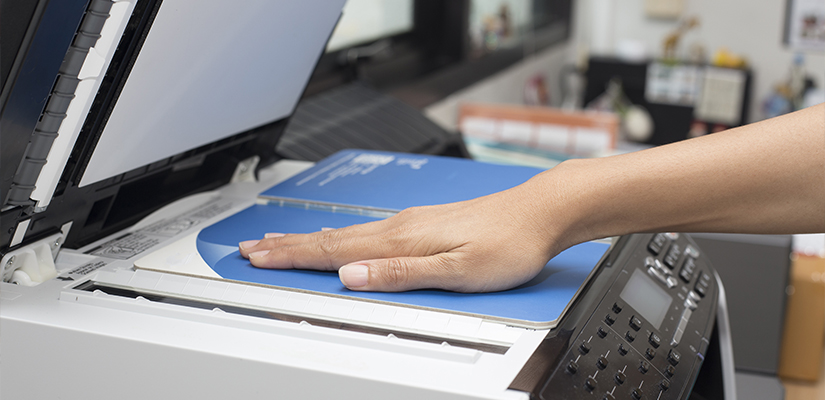
You will need to make sure that your artwork is square to the edge of your scanner, this is vital. Then you can scan your image in sections. Make sure that each section has an overlap with the last, on all sides that will be ‘stitched’ to another side. This becomes the seam allowance we were talking about before.
This is easier if you can remove the cover of the scanner, especially if you need to scan more than four sections. The bigger the artwork the trickier it becomes, and the more room for error there is. If you can stick to A3 or A2 for A4 scanners.
Set-up in your Software
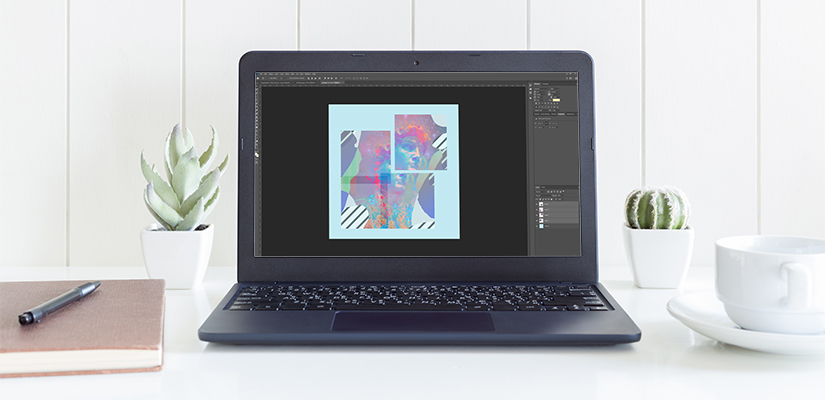
Next, you need to open all of the layers within your software and put them on to a single canvas. Personally, I find it easier to use a garish coloured background, as this makes it VERY obvious if you have gaps or if you have made a mistake.
In this step, it also helps to adjust your layers to 50% opacity, so that they are a little transparent. This will make the alignment much easier when it comes to overlapping.
Stitch Images Together
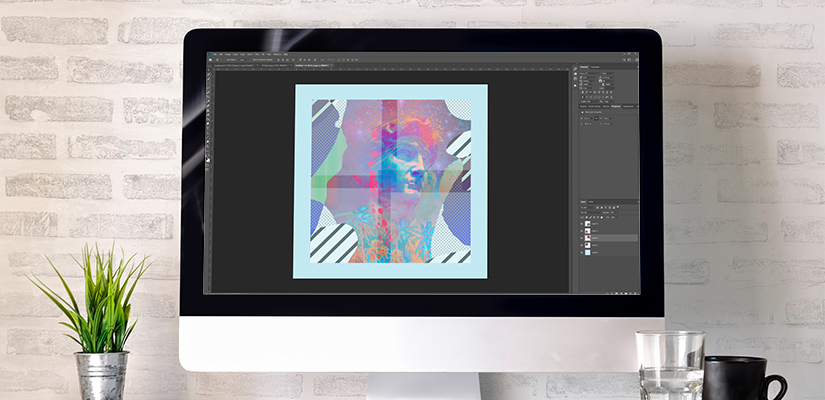
Now for the actual stitching part, from here, things get much simpler. Use your mouse to get the image as closely lined up as possible, and then you can use the arrow keys on your keyboard for the super fine tuning.
Because we made the opacity 50%, the lined-up parts should now show at 100% opacity, where they overlap, and when correctly aligned will show your art exactly as it is intended to look. If there is a misalignment then the image will appear slightly blurred, keep fine-tuning the position until you have the perfect image. Do this to all the sections of your work.
Finalising your Image
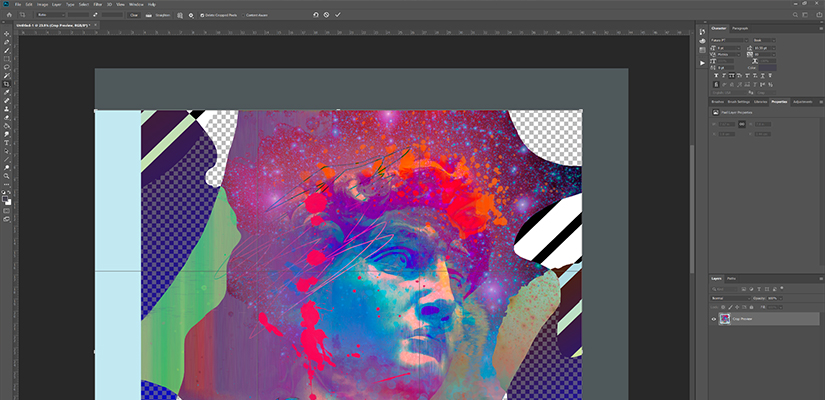
You will end up with a grid of your art (at 50% opacity) with lines between each section (at 100%). Make sure that you are happy with the placement and that none of your image is blurred. Don’t worry if the outer edges don’t line up perfectly or have ‘steps’ in them. We will fix that in this step.
Now all you need to do is combine the layers so that the artwork is one layer rather than four carefully placed ones. Turn your opacity back up to 100% and crop the edges to get rid of the loud background and any uneven edges, and then simply save your file.
Start Designing
Now you have your oversized artwork scanned, in sections, and digitally stitched together, all you need to do is upload it to the Contrado product that you had in mind. You’ve done the digital stitching and now it’s our turn to do the physical stitching! Remember, if you sign up for a wholesale account you can benefit from fantastic discounts when you order your product range from us.